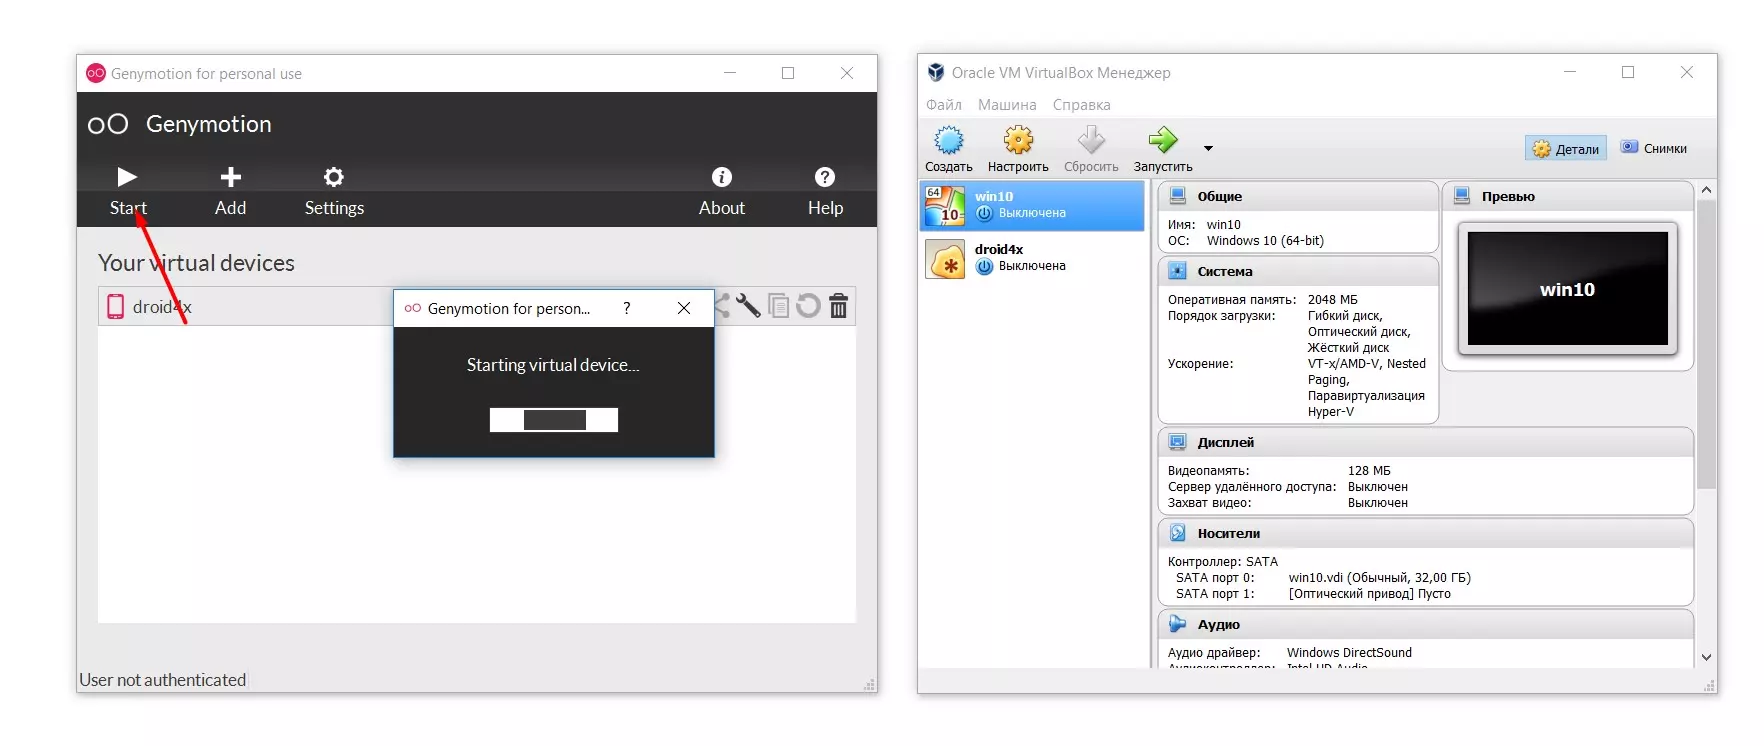
This guide describes how to install Genymotion and set up the Titanium software chain to support testing Android applications using Genymotion virtual devices (or emulators).
This is an alternative to the Android Virtual Device Manager in the Android SDK. Genymotion emulators run much faster than some of the older Android emulators (even with the Intel Hardware Accelerated Execution Manager enabled).

Android virtual devices provide more customizable parameters than the free Genymotion emulators. You can pay for a corporate license if you want more features with Genymotion. Genymotion can be installed on Mac OS, Linux, and Windows.
Installing Genymotion: Compatibility and Download
Genymotion support is available for Titanium CLI 3.3.0 and later versions, Titanium SDK 3.3.0 and later versions, and Studio 3.3.0 and later versions. To use Genymotion, you need to install Oracle VirtualBox and register for a Genymotion Cloud account. Genymotion requires Oracle VirtualBox 4.1.1 or higher. For Mac OS X, go to Download VirtualBox and get the .dmg file for Mac OS X. Open the .dmg file and follow the installation instructions. When finished, restart your computer.
Installing Genymotion on Windows
Genymotion provides two installers: a ready-to-install installer that provides VirtualBox and a standard installer that does not. Genymotion recommends using the ready-to-install installer. If you want to manually install VirtualBox, go to Download VirtualBox and get the Windows .exe file. Open the .exe file and follow the installation instructions.
When finished, restart your computer. If you have installed the Intel Accelerated Execution Manager (HAXM) for Android, you may not be able to run VirtualBox. There used to be conflicts between HAXM and VirtualBox. Installing Genymotion on Windows, Mac OS, and Linux takes a little time and is fairly straightforward.
Genymotion User Account
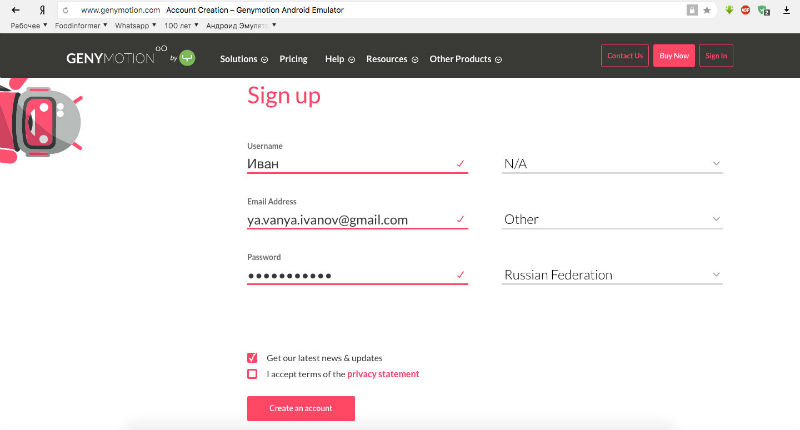
To download Genymotion virtual devices, you will need a Genymotion Cloud user account. To register for an account, visit https://www.genymotion.com/account/login/. Before downloading any files, you will need to verify your email address. Download the appropriate Genymotion installer from https://cloud.genymotion.com/page/launchpad/download/. You will need to log in to your Genymotion Cloud user account to download.
Installing Genymotion on macOS X
- Download the macOS X installer (DMG file) from Genymotion.
- Open the installer program to run it.
- Drag the Genymotion.app and Genymotion Shell.app icons to the "Applications" folder.
- Run Genymotion.app from the "Applications" folder.
Installing Genymotion on Windows
- Download the Windows installer (EXE file) from Genymotion.
- Double-click the installer to run it.
- Select the language and click "OK".
- Click "Next" to accept the default values, then click "Install" to start the installation process.
- After Genymotion is installed, and if you have chosen to use the ready-to-run Genymotion installer, the VirtualBox installation will start.
- Click "Next" to accept the default values, then click "Install" to start the installation process.
- After the VirtualBox installation is complete, uncheck the box to start VirtualBox, then click "Finish".
- The VirtualBox installer disappears and returns to the Genymotion installer.
Leave the "Launch Genymotion" option selected, then click "Finish".
Starting Genymotion
The dialog box will prompt you to "Add your first virtual device." Click "Yes." To add a virtual device, you need to connect to the Genymotion Cloud service. Click Connect. You will be prompted to enter your Genymotion Cloud account credentials. Enter your credentials and click "Connect."
Once your account is verified, select the device and click "Next." If needed, change the device name. Click "Next." Click "Finish" after the download completes or click "Add" to download more virtual devices.
The installation process for Genymotion on Linux is similar.
Configuring Genymotion
To enable Genymotion support with the Titanium toolchain, you need to configure Titanium CLI. If you haven't changed the VirtualBox and Genymotion installation defaults, you need to set the value of genymotion.enabled to true using the ti config command. If you're using Studio, restart Studio after updating the CLI configuration.
 Android-Emulators


 AMIDuOS
 Troubleshooting Droid4X
 Droid4X
 YouWave
 Andy
Andy