 Android-Emulators
Installing the AMIDuOS emulator is simple for the most part. The installer checks your system configuration to make sure it meets the minimum requirements:
- Intel x86 processor.
- Windows 7, 8 or 8.1.
- OpenGL 3.0 or higher (provided with your video card driver).
- Hardware Virtualization (VT) technology is enabled in the BIOS.
- 2 GB RAM.
- 2 GB of free hard disk space.
On the Surface Pro 3, AMIDuOS is installed right away, but on an older ThinkPad (circa 2013), the installation stopped, but you can enable VT in the BIOS. Conveniently, AMIDuOS has prepared a knowledge base article on enabling this feature specifically for Lenovo laptops.
Installing the AMIDuOS Emulator: Enabling VT
There is one more installation step if you want to use the stock Android interface. Due to licensing issues with Google, AMIDuOS ships with the Amazon App Store by default and not Google Play. However, it's easy to install Google Play by downloading a third-party utility, right-clicking it, and selecting "Apply to DuOS". Again, AMIDuOS offers detailed instructions and support for this. Once Google Play is installed, you'll be prompted to sign in or create a Google account, just like you would when setting up a new Android tablet or phone.
Setting up the AMIDuOS emulator
If the installation is complete, you can now run Android on Windows. And unlike BlueStacks, you get the full Android interface and experience. In fact, if you run AMIDuOS in full screen mode - especially on a touchscreen tablet or 2-in-1 laptop - it feels like you've actually turned your laptop into an Android tablet, complete with satisfying touch sounds when you press anything. or type on the on-screen keyboard.
You can add widgets to any of your screens, group apps into folders, customize your desktop wallpaper, see alerts in the notification bar, use zoom, and otherwise interact with AMIDuOS just like any Android device.
AMIDuOS Emulator Setup: Keyboard and Touchscreen
For obvious reasons, AMIDuOS works best with a touch screen, but it's easy enough to use with a mouse or trackpad and keyboard. For example, you can long press to drag between screens or go to the settings menu. If you want to use the keyboard instead, the DuOS customization tool lets you map keys on the keyboard for controls like scrolling, dragging, and tilting.
It will take some knowledge base digging to figure out how to set up this emulator, but be aware that AMIDuOS has standard keyboard shortcuts for these gestures if you enable them by pressing Alt + Ctrl + T.
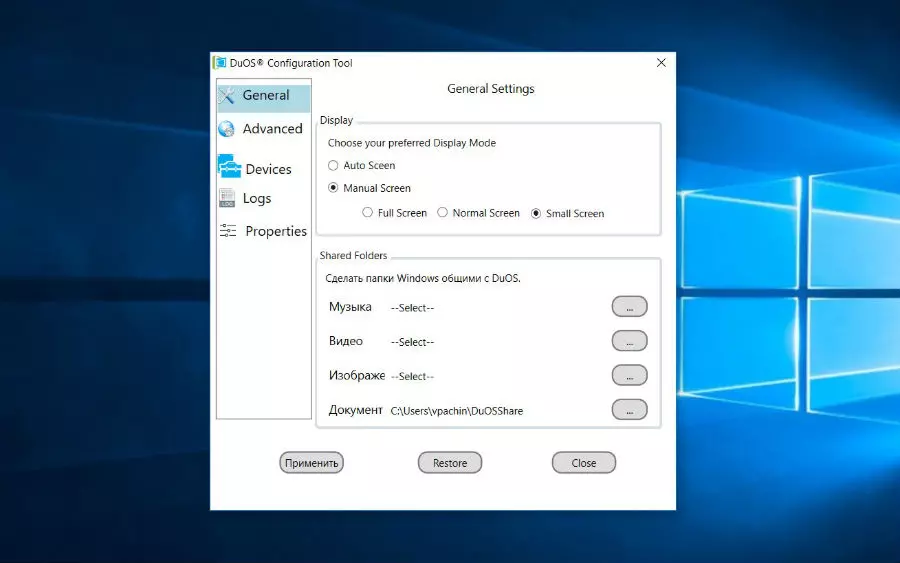
Windowed and full screen modes
The biggest complaint about AMIDuOS is that the emulator doesn't always work well in windowed mode. It runs full screen by default, but it can be run in a smaller window so you can see Android apps alongside your Windows programs.
This is a bit inconvenient because you need to change a setting in the configuration tool and then restart the program - unlike other emulators that allow you to switch between fullscreen and windowed modes on the fly, or resize the window to any size.
 AMIDuOS
 Troubleshooting Droid4X
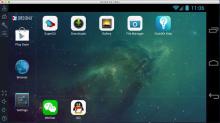 Droid4X
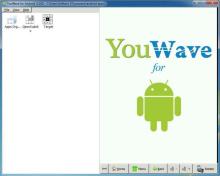 YouWave
 Andy
Andy